Thursday, May 31, 2012

The Story Behind the Soap Tote


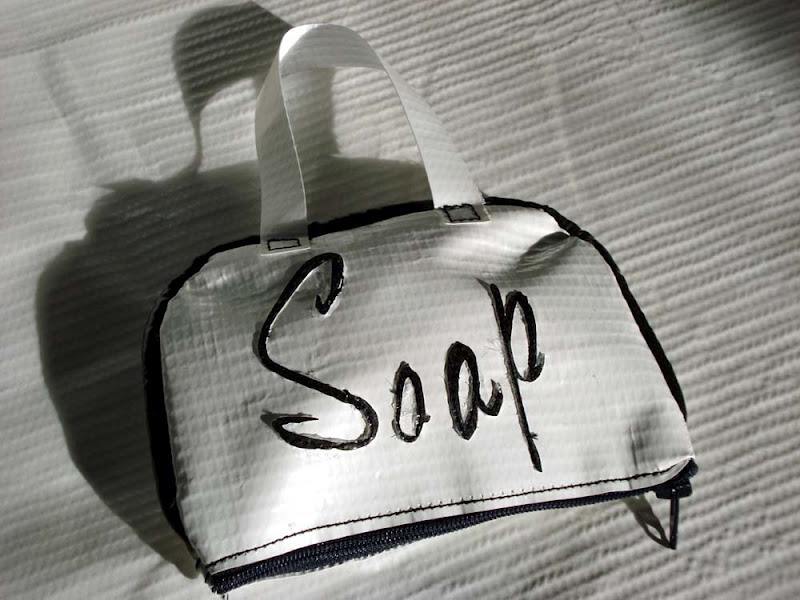
Early design with zipper closure, piping, short handle and sewn-down font
[I wrote this while listening to Get Storied: Behind Every Product is a Story with Michael Margolis at Etsy Success seminars.]

Before VinAlly, I worked 12 years in the Canadian Oilpatch, using my geology degree to do quality control analysis on geological databases for information service companies. I left that to raise my children. When my kids were still small, I started taking night classes towards a Certificate in Visual Design from the University of Calgary. I had always wanted to get a fine arts degree, and the certificate seemed a good way to get the basics in fine arts. The certificate program  covered all the bases and you really had to work at it to get marks.  The flyer for the certificate actually came for my sister in law, but I knew it was really aimed at me.  Thank you, Providence! It took me nearly a decade to complete as family schedules, and my own chronic illness of fibromyalgia made it difficult to attend evening classes.

Finally earned my certificate!
I first got involved recycling billboards when I wanted to find an inexpensive cover for our bicycles because I didn't have access to our garage. Also, I wanted to have something to show for the certificate  that I just earned.  So, I thought I'd start a small business. I found one of the larger billboard companies had a billboard from their "toss list" that I could have. The first thing I made was a shopping bag, and I am still using that bag today, as backlit tarps are extremely durable. 

[To read the full article, click on Read More below]

Friday, May 25, 2012

Product photography setup

OK, this particular photograph isn't that great, but it's my setup for photographing small items. I found a couple of very inexpensive Lagra work lamps from IKEA, they were only $4.99. The Sparsam bulbs were $7.99. I have a tungsten/halogen light source setting on my camera. So now the only thing I have to do to my photos is crop and re-size them. My products sit on some white subway tiles.  If I wanted a softer light I might tape some parchment paper over the lights, but I'm happy with the harsh light, even the reflections in the tiles.  I have three lights in total to light up my products. My shop. I have a few product photos to fix at this writing.

I had a prof in my photography course say you should always aim for the best primary image. Before I had been messing around attempting color corrections with limited success.

I noticed that most treasuries on Etsy get made with items having white backgrounds. The grayer the background, the less likely it is that an item will be selected for a treasury.  So I want to make my backgrounds as white as possible. There are exceptions such as when the background fits into the treasuries color scheme.

Update: I now have 4 lights in my setup, and I put parchment paper over them to soften the light. 

Wednesday, May 23, 2012

Small, Card Organizer Wallet

 Lots of folks like to have a separate wallet for all those cards we need to carry around. They also like a smaller-sized wallet. So I designed one, here's my prototype. Each partition holds 10 or so cards. So you can have 40 or more cards in this wallet. I sort my cards into "frequently used," "medical," "gift cards," and "infrequently used" categories. And there's a top window slot, maybe for a driver's licence or bus pass.  Now to design the cut files so I can automate the cutting out part.


Hand Painted Clutch Wallet

Here's an all-over painted clutch-style, backlit tarp wallet. I designed these to fit my lifestyle because there's all those membership cards, gift cards etc., to manage today. There's even more cards when you have children. The third photo shows the card organizer section. You can fit 10 cards within each partition. The right side is for coins, and there's two long slots for paper money and chequebook. And two window slots for driver's licence and bus pass.

I used WR-LPU marine paint and sanded the tarp. I still had some adhesion problems, perhaps not sanded enough. The paint will peel off in a film if the surface is not rough enough.

It was satisfying getting back to making these wallets again. This one is spoken for, but if you'd like me to make you one,  why not drop me a line at vinally@vinally.ca and I can make you a custom wallet. Wouldn't you just love to have your very own one-of-a-kind wallet that reflects your personality that gets compliments when you pull it out? I sure enjoy mine!


Saturday, May 19, 2012

My Banner made it on TV


Here's the sign I made in the crowd shot with for husband and son! Sign is at the 42-second mark. Too bad the flames didn't make the playoffs. But what a great sign! I used adhesive vinyl for the lettering plus some foam flames from the dollar store. The used tarp was white on the non-printed side. the Oilers logo was printed on some canvas. The foam flames and canvas were glued on with VynaBond.

Thursday, May 10, 2012

Cherry Blossom painted billboard wallet

WR-LPU Marine paint on backlit vinyl billboard tarp. An experiment in all-over painting. For a clutch-style wallet.